
If you’re a Kenyan looking to tap into the vast world of online work, freelancing, or international e-commerce, you’ve probably encountered a common hurdle: how do you actually get paid? While mobile money services like M-Pesa are fantastic for local transactions, most international platforms and clients rely on PayPal. And let’s be honest, navigating PayPal in Kenya can sometimes feel like trying to find a specific grain of sand on Diani Beach – possible, but you need the right tools and a bit of guidance!
That’s exactly why I’ve put together this comprehensive guide. I’ve been in your shoes, and I know the frustration of seeing incredible online opportunities slip away because of payment logistics. But trust me, it’s not as complicated as it seems. By the end of this article, you’ll have a clear, step-by-step roadmap to setting up your PayPal account, receiving payments, and getting your hard-earned money into your Kenyan bank or M-Pesa account. Let’s dive in!
Why PayPal is Your Go-To for Online Earnings
Before we get into the nitty-gritty of setting things up, let’s talk about why PayPal is such a crucial tool for anyone engaging in online work from Kenya. Simply put, it’s the most widely accepted and reliable international online payment processor. Many global platforms, clients, and marketplaces use it as their primary payment method.
Think about it: if you’re working for a client in the US, Europe, or Asia, they’re likely not going to send money directly to your M-Pesa. PayPal bridges that gap, offering a secure and convenient way to receive funds from almost anywhere in the world. It provides a layer of trust and professionalism, assuring clients that their payments will be handled smoothly. Plus, its robust buyer and seller protection policies offer a sense of security for both parties involved in a transaction.
While other options exist, PayPal’s ubiquity and ease of integration with popular platforms like Upwork, Fiverr, Etsy, and many dropshipping suppliers make it indispensable for your online ventures. Mastering PayPal is essentially unlocking a huge percentage of the global online marketplace right from your home in Kenya. It’s an investment in your financial future as an online professional.
Setting Up Your PayPal Account in Kenya: A Step-by-Step Walkthrough
Alright, let’s get down to business! The first step is creating your PayPal account. This process is straightforward, but it’s crucial to do it correctly to avoid any future headaches. You’ll want to ensure all your details are accurate and match your official identification documents.
Step 1: Head to the PayPal Website
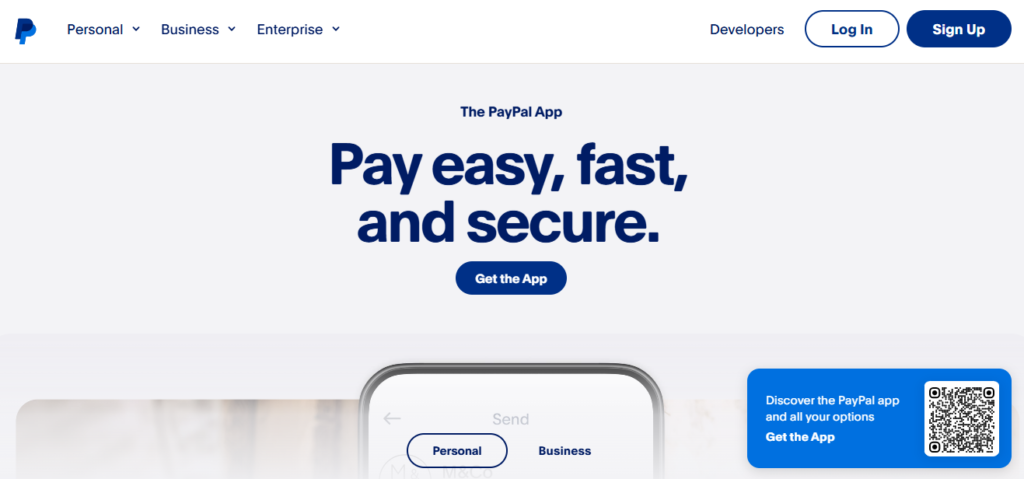
Open your web browser and go to the official PayPal website: www.paypal.com/ke. Make sure you’re on the Kenyan version of the site, as this ensures you get the correct regional settings and options. Don’t worry if it looks a bit different from what your friends in other countries might see; the core functionality remains the same.
Once you’re on the homepage, look for the “Sign Up” or “Open a Free Account” button. It’s usually prominently displayed. Click on it to begin the registration process.
Step 2: Choose Your Account Type
PayPal generally offers two main account types: Personal and Business. For most individuals starting with online work, a Personal Account is sufficient. It allows you to send and receive money, shop online, and link your cards.
However, if you envision yourself running a full-fledged online business, selling products, or hiring people, a Business Account might be more appropriate down the line. It offers additional features like accepting payments on your website, managing multiple users, and more detailed reporting. For now, stick with Personal; you can always upgrade later if needed.
Select “Personal Account” and click “Continue.”
Step 3: Enter Your Personal Information
This is where you’ll provide your basic details. You’ll be asked for your:
- Mobile Phone Number: Make sure this is an active number that you own and have constant access to, as PayPal will use it for verification.
- Email Address: This will be your primary PayPal identifier and how you log in. Use an email address you check regularly and that is secure.
- First Name and Last Name: Use your legal names exactly as they appear on your National ID or passport. Consistency here is key to avoiding verification issues later.
- Create a Password: Choose a strong password that is a combination of uppercase and lowercase letters, numbers, and symbols. Don’t use easily guessable information.
Double-check all the information for accuracy before proceeding. Errors here can cause significant problems when you try to verify your account or withdraw funds.
Step 4: Confirm Your Details and Agree to Terms
After filling in your personal information, you’ll be prompted to provide your date of birth, nationality (Kenya), and your address. Again, ensure these match your official documents. You’ll also need to read and agree to PayPal’s User Agreement and Privacy Policy. It’s always a good idea to quickly skim these, though I know most of us just click “agree”!
Once you’ve confirmed everything and checked the box, click “Agree and Create Account.”
Step 5: Verify Your Email Address
Immediately after creating your account, PayPal will send an email to the address you provided. This email will contain a link you need to click to verify your email address. This step is crucial for activating your account and ensuring you can send and receive payments without limitations.
If you don’t see the email in your inbox, check your spam or junk folder. Sometimes, legitimate emails can end up there. Click the link, and you’ll be redirected back to PayPal, confirming your email is verified.
Step 6: Link Your Debit or Credit Card
This is a critical step for getting your PayPal account fully functional, especially for sending money or making purchases. While you might initially be focused on receiving money, linking a card helps verify your identity and gives you more flexibility.
On your PayPal dashboard, look for an option like “Link a card” or “Link a bank account” (though bank linking directly isn’t common for withdrawals in Kenya, we’ll get to that later). You’ll need to enter your card details:
- Card Number: The long 16-digit number on the front of your card.
- Card Type: Visa, MasterCard, etc.
- Expiration Date: Month and year.
- CVV/CVC: The 3- or 4-digit security code on the back of your card.
PayPal will make a small, temporary charge (usually around $1-$2) to your card to verify it. This charge will appear on your bank statement with a unique code. You’ll need to find this code and enter it back into your PayPal account to complete the verification. Don’t worry, the charge is usually refunded to you within a few days.
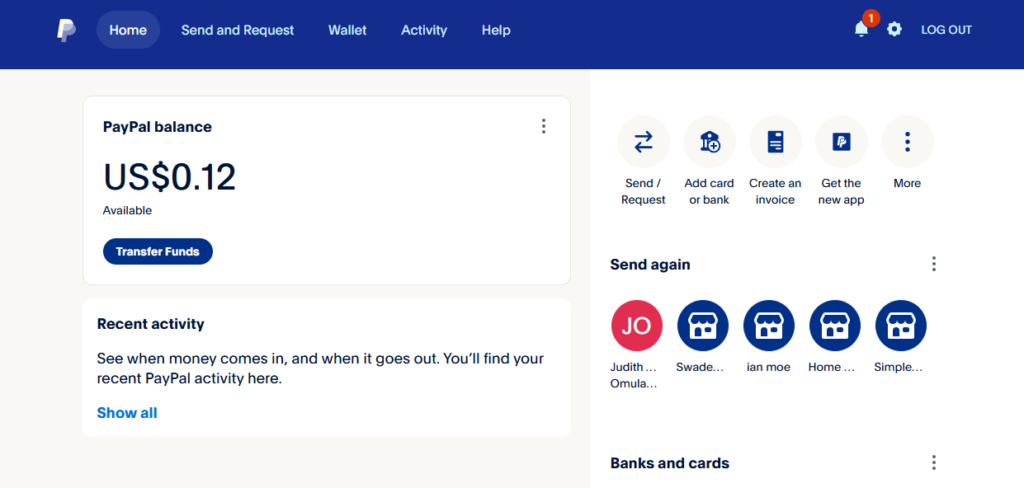
Once your card is linked and confirmed, your PayPal account is ready to send and receive payments!
Receiving Payments on PayPal in Kenya
Now that you’ve got your PayPal account all set up and verified, the exciting part begins: receiving your earnings! This is surprisingly straightforward, which is one of PayPal’s biggest advantages. You don’t need to generate invoices (unless your client asks for one separately) or provide complex bank details to your clients.
What to Tell Your Clients/Platforms
All your client needs is the email address associated with your PayPal account. Yes, it’s that simple! When a client wants to send you money, you just provide them with your PayPal email. They will log into their PayPal account, select “Send Money,” enter your email, the amount, and choose the currency. That’s it!
Once they send the payment, you’ll receive an email notification from PayPal confirming that you’ve received funds. The money will then appear in your PayPal balance. It’s usually instant, though sometimes there can be a slight delay depending on the sender’s payment method or if it’s a very large transaction.
Important Considerations for Receiving Payments:
- Currency Conversion: Most international payments will come in USD, EUR, or GBP. PayPal will typically hold these funds in their original currency in your balance. When you withdraw, PayPal will convert it to KES at their prevailing exchange rate. Be aware that PayPal’s exchange rates include a conversion fee, which is how they make some of their money.
- Holds on Funds: Occasionally, especially for new accounts or large first-time payments, PayPal might place a temporary hold on funds. This is a security measure to protect both you and the sender. These holds usually clear within a few days once the transaction is verified. Don’t panic if this happens; it’s a normal part of their security protocols.
- Transaction Fees: While receiving money from friends and family using PayPal is often free, receiving payments for goods and services (which is what most online work falls under) usually incurs a small fee. This fee is typically paid by the receiver in Kenya. The fee structure can vary, but it’s usually a percentage of the amount plus a fixed fee. Make sure to factor this into your pricing when quoting clients. You can find detailed fee information on PayPal Kenya’s website.
- Confirming Payment: Always check your PayPal balance directly on the website or app, not just relying on email notifications. Email spoofing is a thing, and you want to be sure the money is actually in your account before you consider the transaction complete.
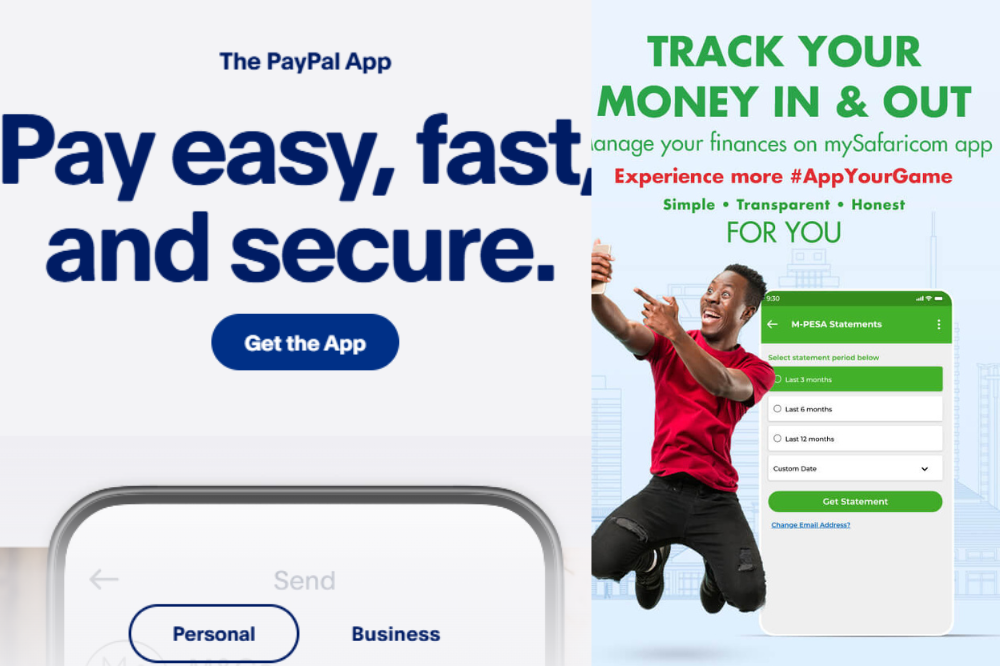
Linking Your Safaricom M-Pesa App to PayPal
As of 2026, the game has changed. The old way of visiting a separate website to link your accounts is being phased out in favor of the M-Pesa Super App. Safaricom and PayPal have integrated their systems directly, making the “PayPal Mini App” within your M-Pesa app the primary hub for all transactions. This is faster, more secure, and keeps everything in one place.

Step 1: Locate the PayPal Mini App
First, ensure you have the latest version of the M-Pesa Super App installed from the Google Play Store or Apple App Store. Open the app and log in. On the bottom navigation bar, tap on the “Services” or “Global” tab. Scroll through the list of mini-apps until you see the blue PayPal logo. Tap on it to launch the interface.
Step 2: Authenticate and Link
Once inside the PayPal mini-app, you’ll see an option to “Link Account.” You will be prompted to enter the email address associated with your PayPal account. After hitting “Continue,” a secure PayPal login window will pop up. Enter your password and, if prompted, the 2FA code sent to your phone. This creates a secure “handshake” between Safaricom and PayPal.
Step 3: Name Matching Check
This is the most common place where Kenyans get stuck! For the link to be successful, the legal names on your M-Pesa registration must match the names on your PayPal account exactly. If your M-Pesa is registered as “John Kamau Musyoka” but your PayPal is just “John Musyoka,” the system might throw an error. If this happens, you may need to contact PayPal support to update your profile name to match your National ID.
Step 4: Finalizing the Connection
After logging in, you will be presented with a “Terms and Conditions” page. Scroll to the bottom and tap “Agree and Connect.” Almost instantly, you will receive a text message from Safaricom: “Dear Customer, you have successfully linked your M-PESA account to your PayPal account.” You are now ready to move money without ever leaving the app.
Step 5: Withdrawing Your Funds
To get paid, simply tap “Withdraw from PayPal” within the mini-app. It will show you your available USD balance and the current exchange rate. Enter the amount you want to withdraw, and the app will calculate exactly how many Kenyan Shillings will hit your phone. Confirm with your M-Pesa PIN, and the funds will typically arrive in your wallet within minutes (though large amounts can take up to 3 days).
Your Global Paycheck is Waiting
Getting paid on PayPal in Kenya is no longer the “mission impossible” it used to be. By following this guide, you’ve set up a professional gateway that connects you to clients in New York, London, Tokyo, and beyond. Whether you choose the speed of the M-Pesa Super App, the high limits of Equity Bank, or the fee-saving strategy of Virtual Accounts, you now have the tools to manage your international income like a pro.
The online economy is growing rapidly in East Africa, and being “PayPal ready” puts you miles ahead of the competition. Don’t let the technicalities intimidate you—once these accounts are linked, receiving money becomes as routine as checking your WhatsApp. So, go ahead and pitch that international client or list your products on that global marketplace. Your Shillings are just a few clicks away!